
Tutorial: How to get a long-lasting manicure
I used to never wear nail polish because it would always chip after a day or two. Thirty minutes to paint them, a couple hours to let them set, just to do it all over again two days later? In the immortal words of Sweet Brown, ain’t nobody got time for that. As it turns out, I was just doing it wrong. After reading this blog from Hilda Wong and trying some different products, I finally found a routine that will usually get me 5-7 days of wear as long I’m not doing anything too hard on my nails (for example, putting down laminate flooring will destroy a manicure immediately). In fact, I often find myself removing my polish not because it’s damaged but because I’m tired of it. This is what’s been working for me.
Prep your nails
Sure, it’s quicker to just slap on a coat of paint, but going through the whole manicure process actually does make a difference.
- File your nails. This will help eliminate any rough areas that might turn into cracks, peeling or hangnails later.
- Push back and/or trim your cuticles as needed. Your nails will appear longer, and it just looks nicer. It will also make it a lot easier to avoid painting over the cuticle.
- Go over your nails with a buffing block. This gives your polish a smooth surface to cling to, helping it adhere better.
- Clean your nails with polish remover. If you skip all the other steps in prep, at least do this one – it makes a world of difference for me. Skin oils, lotions or cuticle-removing goo residue will keep your polish from adhering well, but a quick swipe with polish remover will take all that stuff right off.
Use a base coat
A base coat will help fill in any remaining ridges in your nails, and also help prevent your “real” polish from staining your nails. I like China Glaze Strong Adhesion.
Nail-painting technique
In my experience the polish you use isn’t always as important as how you put it on there. Everybody has their own method, but this is mine.
- On each coat, try as much as possible not to paint onto the cuticle or the surrounding skin, or if you do, clean it up immediately. If it starts to dry like that, the area that crosses from nail to skin will be lifted off the nail a bit and chips will ensue.
- Coat 1 – apply a very thin coat. Don’t worry if it’s not completely opaque. I do all nails on one hand, then start the second coat before the first one is completely dry.
- Wrap the tip – right before you do the second coat on each nail, run a tiny bit of polish along the free edge of your nail. This will help avoid tip wear and chipping at the tips.
- Coat 2 – right after wrapping the nail tip, apply another thin coat of polish. If it’s still not quite opaque, don’t stress. You don’t want to apply the coats too thickly because that can encourage air bubbles.
- Coat 3 (optional) – if you need another coat to get full coverage, go for it! But remember, thin layers.
Use a quick-dry top coat
I use Seche Vite, which is meant to be applied before your polish is completely dry. It can be tricky to work with, so here are some tips especially for it.
- Wrap the nail tip. Seche Vite can cause your nail polish to shrink a bit as it dries, so it’s important to make sure you cover all of your regular polish. Otherwise it has a habit of chipping.
- Get a lot of product on the brush. The brush shouldn’t actually touch your nail – it’s just there to smooth the topcoat on. This helps avoid dragging the brush through your polish (I call this “digging topcoat trenches”).
- The polish should be dry to the touch after a couple minutes, but wait a while (15 minutes or so) before really testing that too far. No need to spoil all that hard work!
Followup
Obviously if you use your nails as tools your manicure won’t last as long, so avoid that if you can. If you have minor tip wear after a few days but no chipping, feel free to slap on another layer of topcoat, wrapping the tips. That will help prolong your polish by a few days.
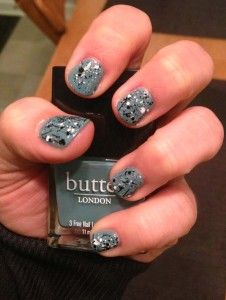
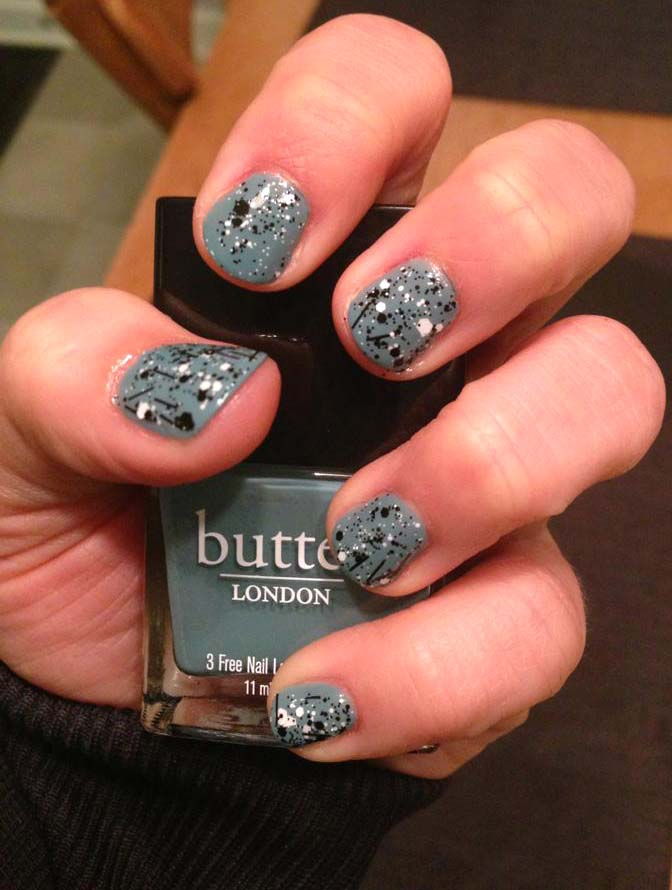
Butter London Artful Dodger under Hard Candy Black Tie Optional
Do you have any awesome tips on keeping a manicure intact? Share them in the comments below!
Leave a Reply