
All About Brushes: Cheeks
Welcome back to the All About Brushes series! It’s taken kind of a while for me to write this section because I kept changing my mind about how to organize it. In the last section on complexion brushes I grouped the brushes by the products that they’re normally used with; I don’t think that works so well with cheek brushes because they’re a lot more multipurpose. For this section I’ll group them by shape and explain a bit about how I use them. Keep in mind that shape is only one factor; the density and hair type will also affect how brushes pick up and deposit your products. Cheek brushes come in an almost infinite range of shapes (or so it seems), so I’ll just group them into really broad categories.
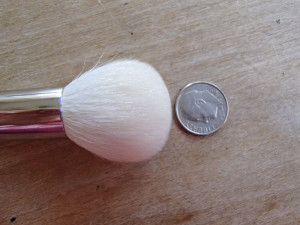
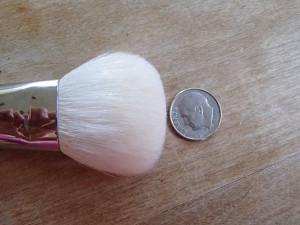
Round: Round brushes are very versatile and easy to use. You can control the amount of product you pick up by either tapping the end of the brush in the pan, or swirling it to get more product on the brush. The outer edges of the brush (where it tapers down) tend to pick up less product, so that part can be used to blend out the edges after you’ve applied the product. I use round brushes for blush and contouring.
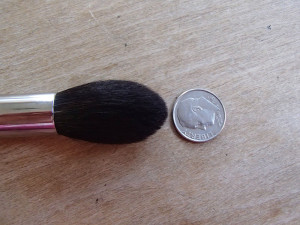
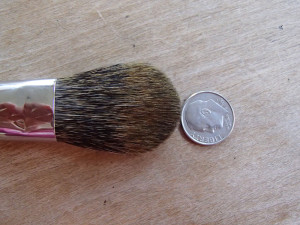
Tapered: Tapered brushes are narrower toward the end, allowing for precise placement. The bristles taper down most of the length of the brush, so I use the tip to apply the product and then use the side to blend it out. I like this style of brush for contouring, highlighting and blush – basically an all-in-one.
Flat: Flat, paddle-shaped brushes let you apply your product in side-to-side or up-and-down strokes, a lot like flat foundation brushes. This is great if you have sensitive or flaky skin, though it can take a little more effort to get the edges blended well. I use this type of brush mainly for blush.
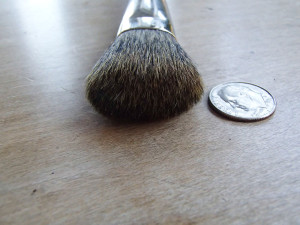
Oblong: Oblong brushes are similar to round brushes as far as use goes, but allow for more directional placement. They’re very handy for contouring or applying blush along the cheekbones.
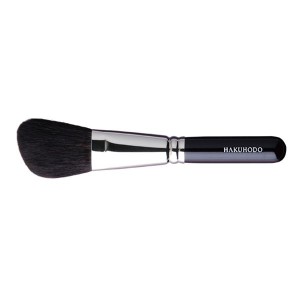
Photo courtesy of hakuhodousa.com
Angled: Angled brushes are very similar to oblong ones, but one end is longer. That helps it better fit the contours of your face, making it more comfortable to hold. They can be used for blush and contouring.
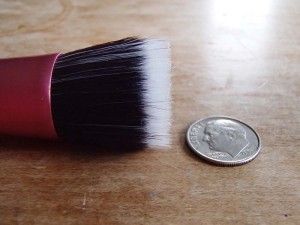
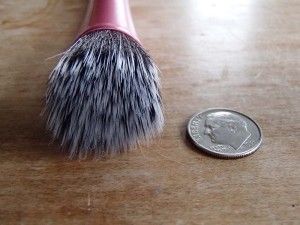
Stippling: This brush was shown in the post on complexion brushes, but it’s great for cheeks too. Stippling (or duo-fiber) brushes have two lengths of bristles. The shorter ones are more dense and firm, and the longer ones are looser and more flexible. The flexible hairs on stippling brushes can be great for dry skin since they’re less likely to catch on the skin and pull up flakes. I mainly use stippling brushes for cream blushes, or for very pigmented powder blushes where I want a lighter application.
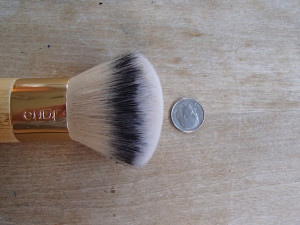
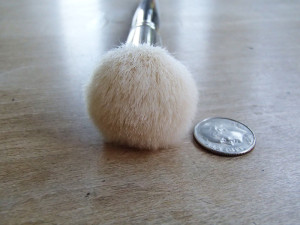
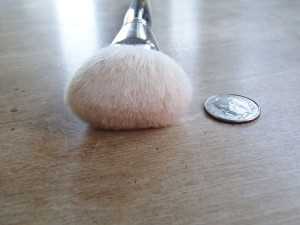
Bronzer: Bronzer brushes tend to be large and moderately dense, allowing a diffused application over a fairly large area.
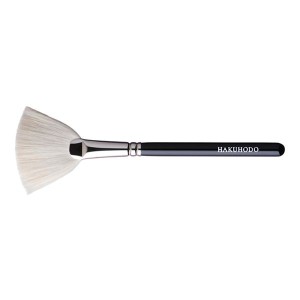
Photo courtesy of hakuhodousa.com
Fan: Fan brushes are very thin and wispy, picking up just the tiniest bit of product. The light application is ideal for very shimmery or pigmented highlighters.
Still have questions about cheek brushes, or a favorite you’d like to share? Leave a comment below!
Samantha M
October 31, 2013 at 8:23 amThis post was incredibly helpful! I think my favorite is the tapered brush as it makes it easier for blending. (Although i like larger ones than the picture above!) Love your posts xx
niccigilland
October 31, 2013 at 5:50 pmThanks! Which tapered brush do you use?
sandra
October 31, 2013 at 4:26 pmLovely guide! Do you ever use synthetic/ inexpensive brands of brushes, if yes do you have any recommendations?
I just read several of your wonderful posts ! I am delighted to see you are fan of Laura Mercier eye shadow palette(s). I just acquired my first one (also first palette ever ! < new to makeup)… I am a bit overwhelmed by the number of colors in the same family …I would love to see some looks of yours using this palette and learn how to maximize having so many nice natural shades!
niccigilland
October 31, 2013 at 5:59 pmThanks, I’m glad you liked it! I have some synthetic brushes, but I mostly use natural hair since it’s softer (my skin flushes easily and tends to be dehydrated/flaky). Eco Tools brushes are inexpensive and very good quality. I also have a few that I like from Real Techniques – the stippling brush and the buffing & contouring brushes from their Core Collection set. Sigma might be worth looking into also – they’re a little pricier than the other ones I mentioned, but less than something like MAC/Hakuhodo. I’ve only used the F84 (angled kabuki) from that brand, but it was well-built and fairly soft.
Did you get the new Laura Mercier Artist palette? I think it’s a great choice for a first palette, since there’s such a good mix of warm/cool and matte/shimmer. I have last year’s and love it. I’ve got the new one in my Sephora cart, just waiting for the sale to kick off before I buy it. I was actually thinking recently that I’m waaaaay overdue to make some more tutorials, so doing some looks from the LM palettes is a perfect idea. It’ll be a couple weeks before I have the new one in hand, but I can always start with the colors that were also included in last year’s version. Keep an eye out, I’ll try to do it sooner than later!
Sandra
November 3, 2013 at 4:18 pmThank you! yes I got the Laura Mercier Artist palette. I look forward to knowing more about its wonderful uses through your posts!! Thank you also for the brush tips I am intrigued by the real technique ones …will try some soon…!