
How to cover up @$*#&^! undereye bags with under eye corrector
[cf-shortcode plugin=”acf” field=”affiliate_link”]
 So, yeah, undereye bags are a thing that have been frustrating me for ages now. I’ve always had dark circles under my eyes, which don’t really bother me that much because my eyes have been that way since I was a tiny kid. Recently though, that area has been extra-puffy and it’s not so flattering – I think my allergies probably have a lot to do with it. So far I haven’t found any fancy eye creams that really do much and cold compresses only help if it’s really bad – so camouflage it is! After going through a gazillion different products, I think I’ve finally found a combination that works for me. In the interest of sharing, here it is.
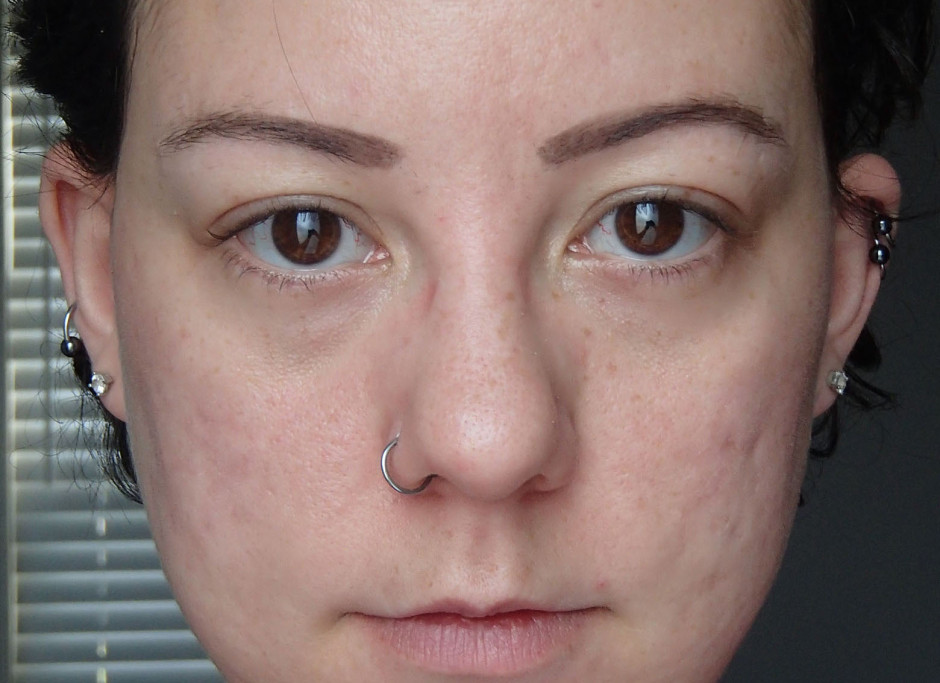
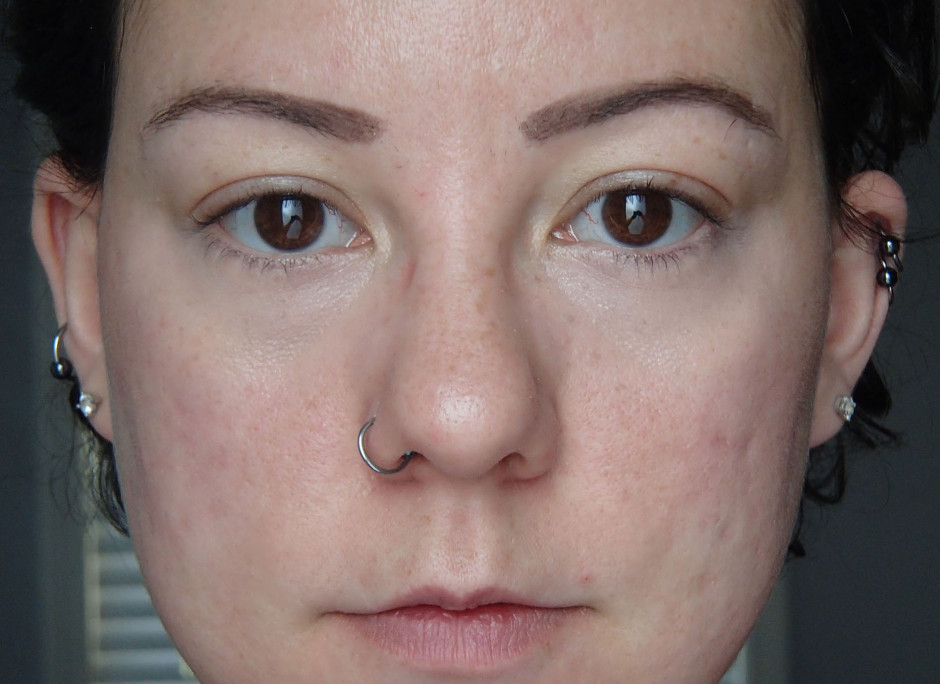
Before
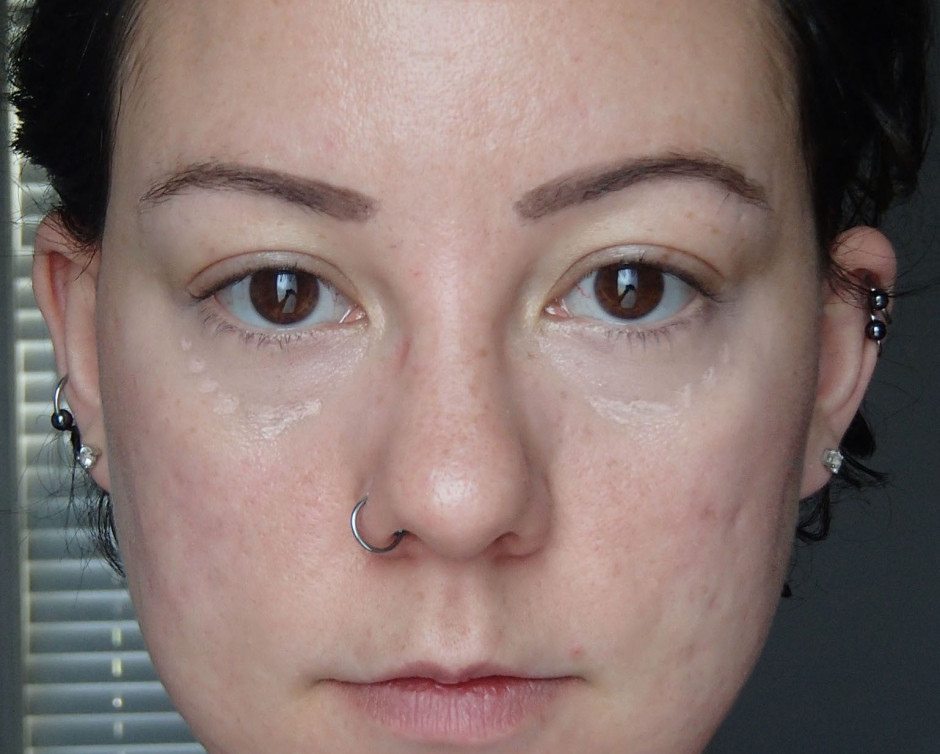
Step 1 – Color Correct
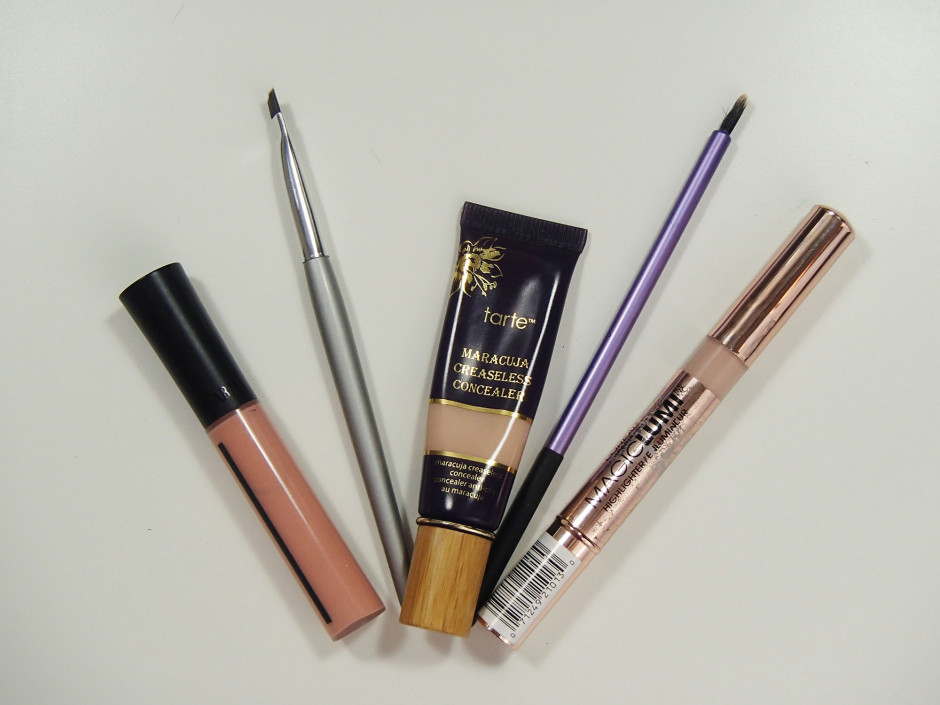
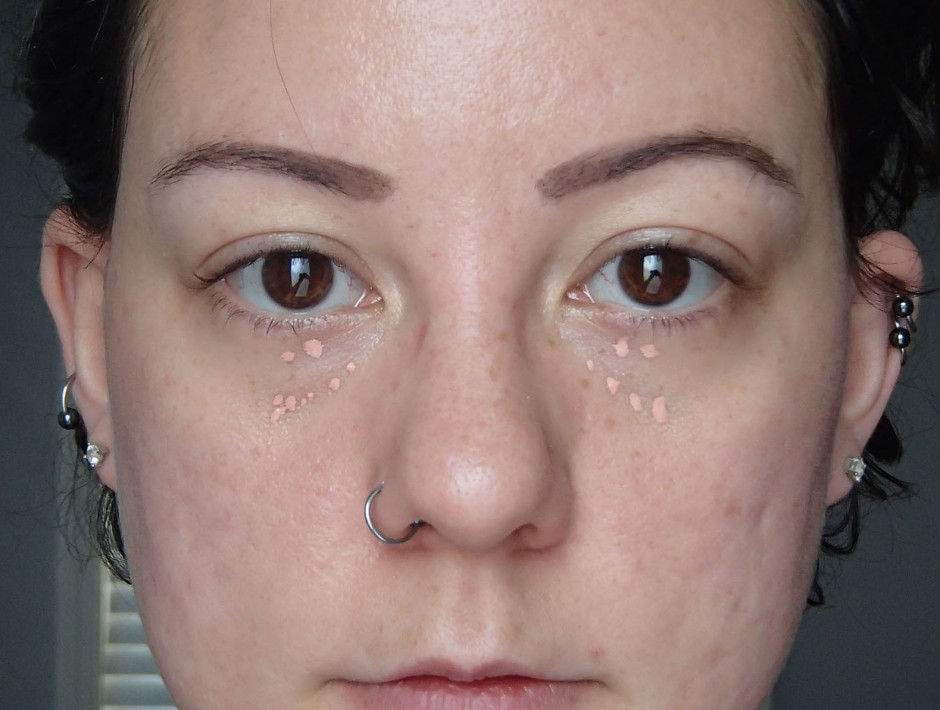 This is the secret weapon: pink under eye corrector. I started off my dabbing the smallest possible amount of Armani Master Corrector (the pink one) in the darkest areas – the parts where my eye shape or puffy skin cast shadows. There’s also an orange version if your under eye area is more of a bluish shade.
 I spread that out with a very fine angled brush. The trick is to keep it only on the dark areas, and not spread it all over. I didn’t even bother blending the edges all the way because another concealer is going over that. It’s not terribly obvious in this photo, but the pink shade is very different from my skintone, so this isn’t one that I can wear on its own.
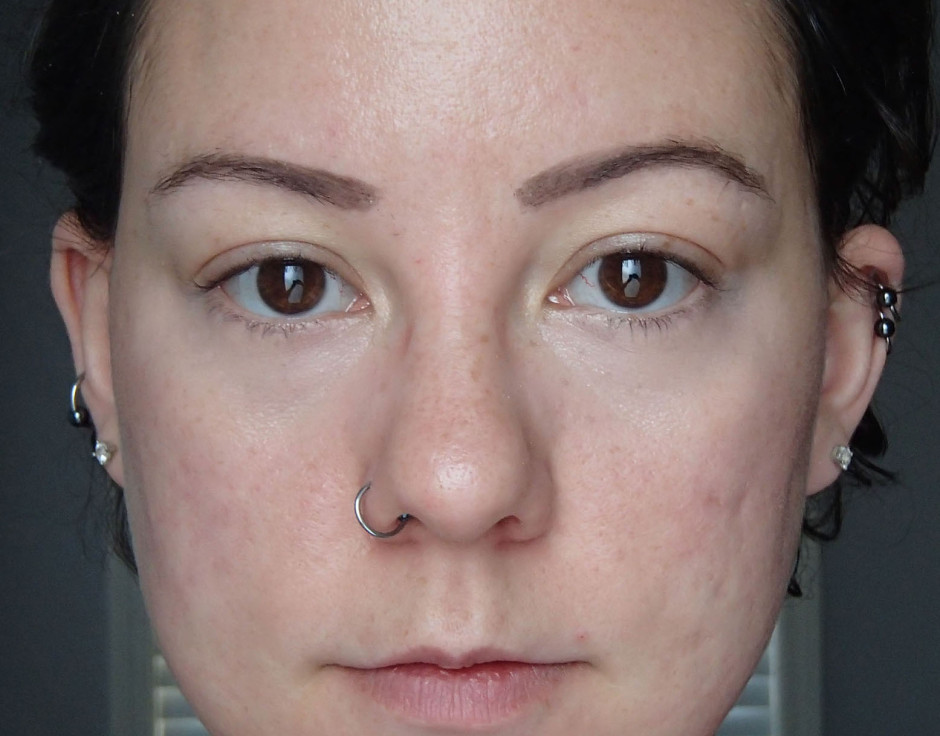
Step 2 – Brighten
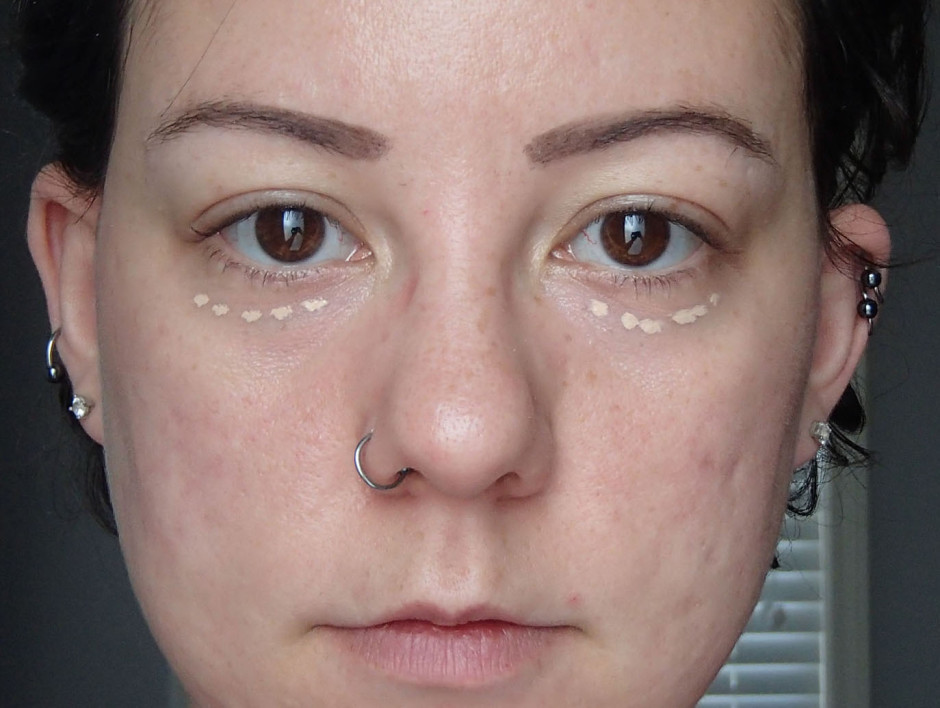 Next I added a thin layer of Tarte Maracuja Creaseless Concealer in Light. It’s a couple shades lighter than my skin tone, so it just brightens up the whole area, and covers up the pink corrector.
 No brushes for this part – I blended the Tarte concealer by dabbing and rolling my ring finger over it until it was spread out.
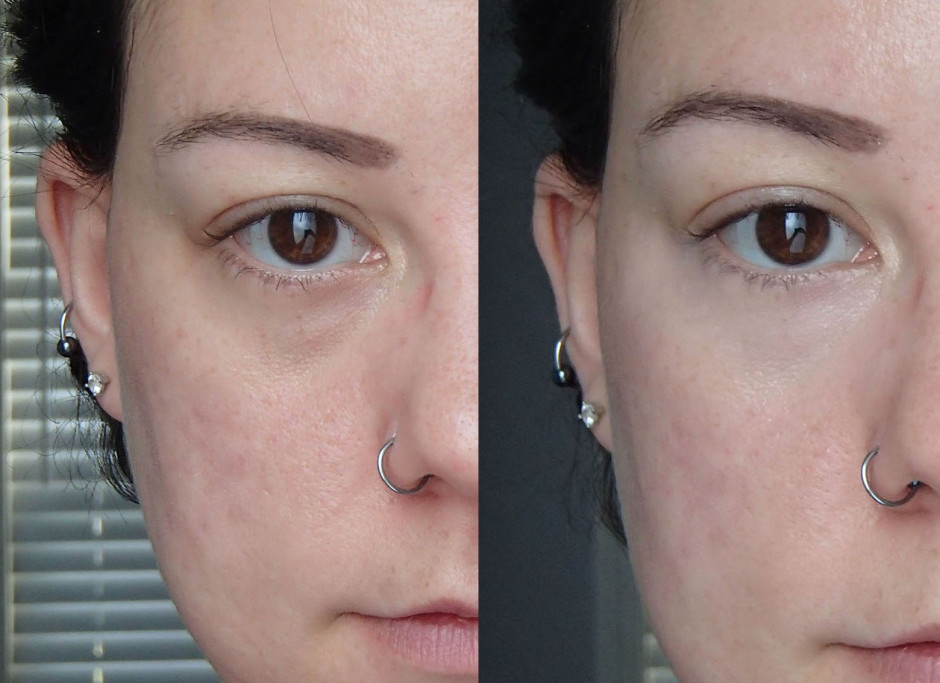
Step 3 – Illuminate
 I still felt like the very bottom edges were a bit shadowy, so I added a tiny bit of L’Oreal Magic Lumi Highlighter in Fair, which is a pearly pinkish beige. Again, this just goes on the shadowed areas.
 This is another one where you really want it to stay where you put it – if it goes past that area, you’ll just highlight the bags instead of concealing them, which is the exact opposite of what you want. I blended it by patting it with my finger.
Now, it doesn’t completely disguise the fact that there’s some shape in the area under my eyes, but that’s not quite what I’m going for – I don’t want it to look like a flat expanse of skin between my lashline and cheekbone. It does make me look a bit more awake and less frazzled though, so I’m happy with it!
What are your favorite little tricks for looking wide awake?
Leave a Reply