
Tutorial: Neutral Eye with the Laura Mercier Artist Palette
One of the lovely readers here requested some looks with the Laura Mercier Artist Palette, and I’m way overdue for a tutorial – what a wonderful coincidence, huh? So here’s a look with the palette, and how I made it be there. I had trouble deciding what I should name the tutorial – it’s not exactly a brown smoky eye, and it’s not quite a dramatic look either. I consider this totally work-appropriate, but I also work in an IT office where jeans are the unofficial uniform and visible tattoos/facial piercings are not a problem. So I settled on just ‘neutral eye’ because that seems pretty accurate, right? The colors might pull more dramatic or evening-appropriate on fairer skin, since there will be more of a contrast.
Just another thought to add on before we get started – I’m still sort of new at the tutorial thing so if it’s too picture-heavy or the detail is excruciating, please let me know in the comments! As always you can click the images to enlarge them. I’ve only shown one eye, but I do each step on both eyes instead of doing one whole eye and then the next one – it helps me make sure everything is even.
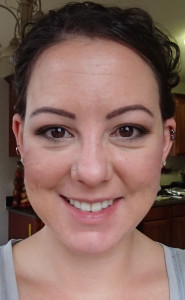
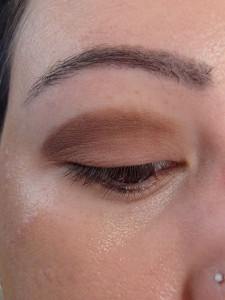
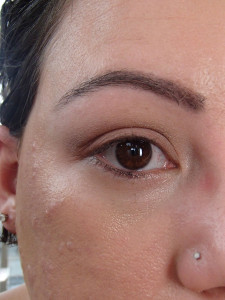
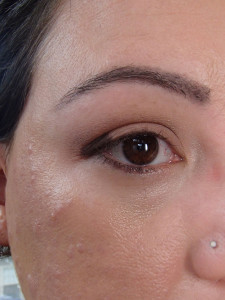
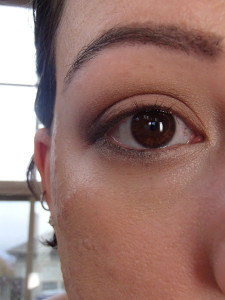
The finished look, so you can decide whether you even care ;-)
1. Base
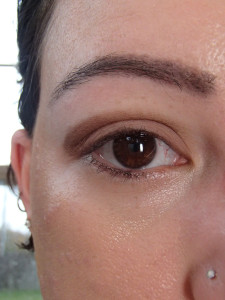
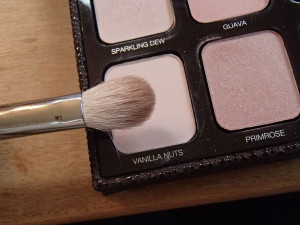
 Apply the eye primer of your choice and cover with a sheer layer of Vanilla Nuts. This will help even out your skintone a little, keep your primer from ‘grabbing’ the shadows and make blending a little easier.
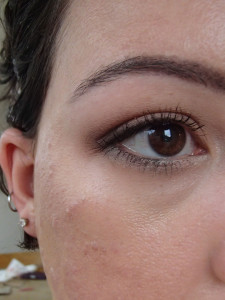
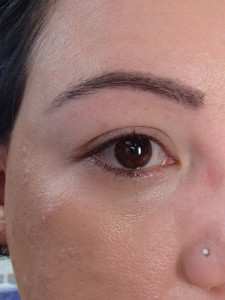
With Vanilla Nuts base, almost identical to a bare eye.
2. Lid

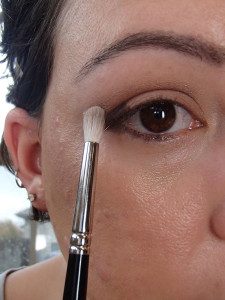
Use a flat lay-down brush to apply Fresco to your lid from the lashline to the crease.
Fresco on the lid
3. Crease
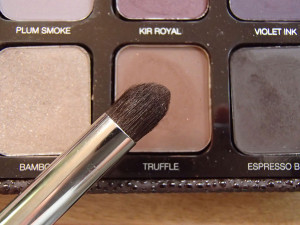
Use a dense crease brush (I like to use a domed one) to apply Truffle in your crease. My lids are slightly hooded, so I actually take the color above my natural crease, or you wouldn’t be able to see it at all when my eyes are open.
Truffle applied to the crease
Truffle in the crease, closed-eye view
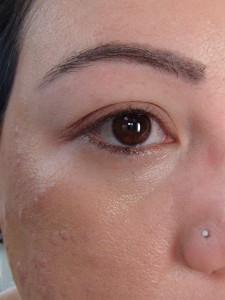
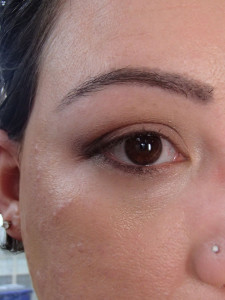
Using a fluffy blending brush, run across the upper edge of your crease color using a windshield wiper motion until there’s no hard edge.
Crease color blended
If you want a softer gradient from the brown to your natural skintone (which I did, hence having the step in the tutorial), pick up a little bit of Vanilla Nuts on your blending brush and apply it using the same windshield wiper motion just at the edge of the crease color.

Crease color blended out with Vanilla Nuts
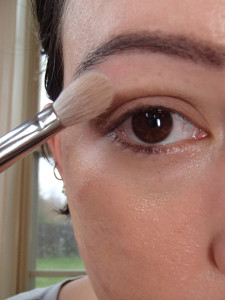
4. Inner corner highlight
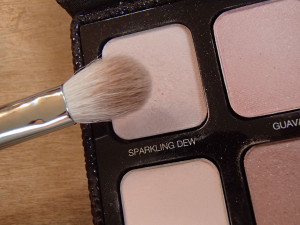
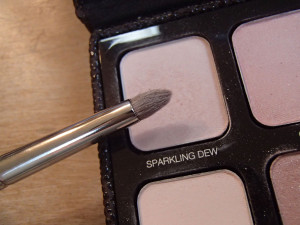
Use a fluffy brush to apply Sparkling Dew to the inner corner of your eye where it meets the bridge of your nose, and to the inner third of your lid. This step is meant to make the eyes look larger and wider-set, so you can skip it if those things aren’t necessary for your eye shape. I applied just a very small amount here.
Sparkling Dew in inner corner.
5. Outer corner
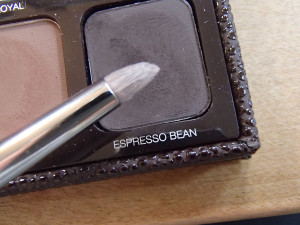
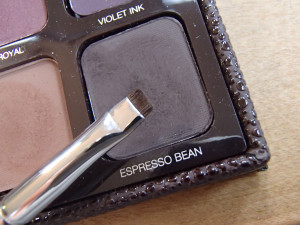
Use a small pointed brush to pat Espresso Bean on the outer third of your lid (below the crease) and along the outer half of your lower lash line.
Espresso Bean on the outer corner and lower lash line
Use a small blending brush (or the same one you used for your crease, if you don’t have tiny eyes like me) to blend. For the lower lash line, just run the brush back and forth over the shadow. On the lid, touch the brush to the edge of the darkest color and wiggle it in tiny circles – big sweeping motions will make the colors muddy. If your brush blends some of the color off, just add a little more Espresso Bean and blend again until you like the color depth.
Espresso Bean in the outer corner, blended
6. Lower lash line, inner part
 Use a small pointed brush to apply Sparkling Dew along the inner half of your lower lash line. Run a small fluffy brush over it to blend.
Sparkling Dew on inner half of lower lash line.
7. Liner
Using a small liner brush or pointed brush, apply Espresso Bean as close as possible to the roots of your upper lashes. I only did this on the outer half of my upper lash line to avoid making my eyes look smaller.
Espresso Bean on outer half of the upper lash line.
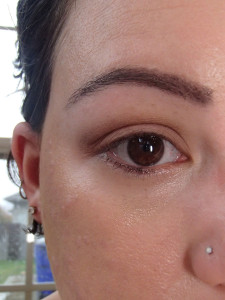
8. Finishing touches
For the finished product I curled my lashes (with the Shu Uemura S curler) and applied mascara (Burberry Effortless in Midnight Black). I should have applied a taupe eyeliner to my waterline to hide some allergy-related redness, but I did not. If I had, it would have been Rimmel ScandalEyes in Taupe.
9. Admire the finished product: ta-da!
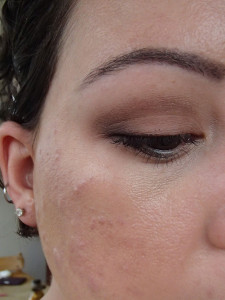
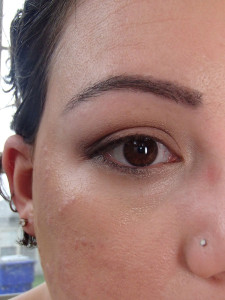
The finished look, again.
Welp, that’s it. Not actually anything earth-shattering, but that’s pretty much the goal – Laura Mercier and the Artist Palettes in particular are my go-to’s for everyday wear. Got questions or comments? You know where to leave them!
Sam
November 19, 2013 at 11:17 amThanks. The detail level was perfect (at least for me). So helpful!
niccigilland
November 19, 2013 at 11:41 amThanks, I’m glad you liked it!
Joyce (bronzerbunny)
November 19, 2013 at 2:37 pmlove the look on you :)
sandra
November 26, 2013 at 11:25 pmlove this tutorial. thanks! It’s been busy over at my end and have made a few but not too dedicated trials…just warming up the brushes! I am in love with this palette! I will keep you posted on my attempts with your wonderful and elegant look!
niccigilland
November 27, 2013 at 10:16 amSo glad you liked it! More are coming soon too – it would be a sacrilege not to do a tutorial with African Violet.